START-UP YOUR RASPBERRY PI
How to Install Home Assistant Operating System ON UCTRONICS 0.91" OLED Display
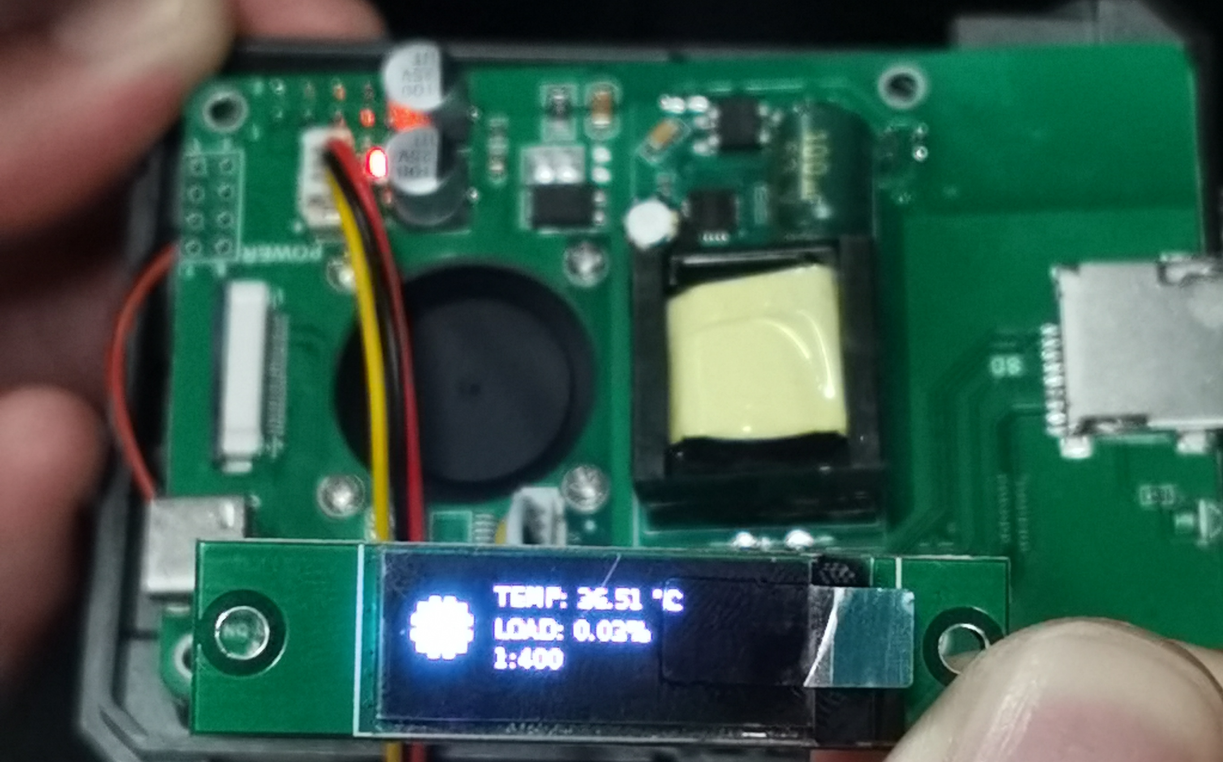
This blog will show you how to install the Home Assistant OS on UCTRONICS 0.91" OLED Display.
Here are some racks with 0.91" OLED Displays.
1. UCTRONICS Ultimate Rack for Raspberry Pi 4(SKU: U6143)
2. UCTRONICS Ultimate Rack with PoE Functionality for Raspberry Pi 4(SKU: U6145)
3. UCTRONICS Raspberry Pi Rackmount Complete Enclosure 2.0 with PoE Functionality(SKU: U6246)
Official Documentation
Please refer to the official link to write the image:https://www.home-assistant.io/installation/raspberrypi
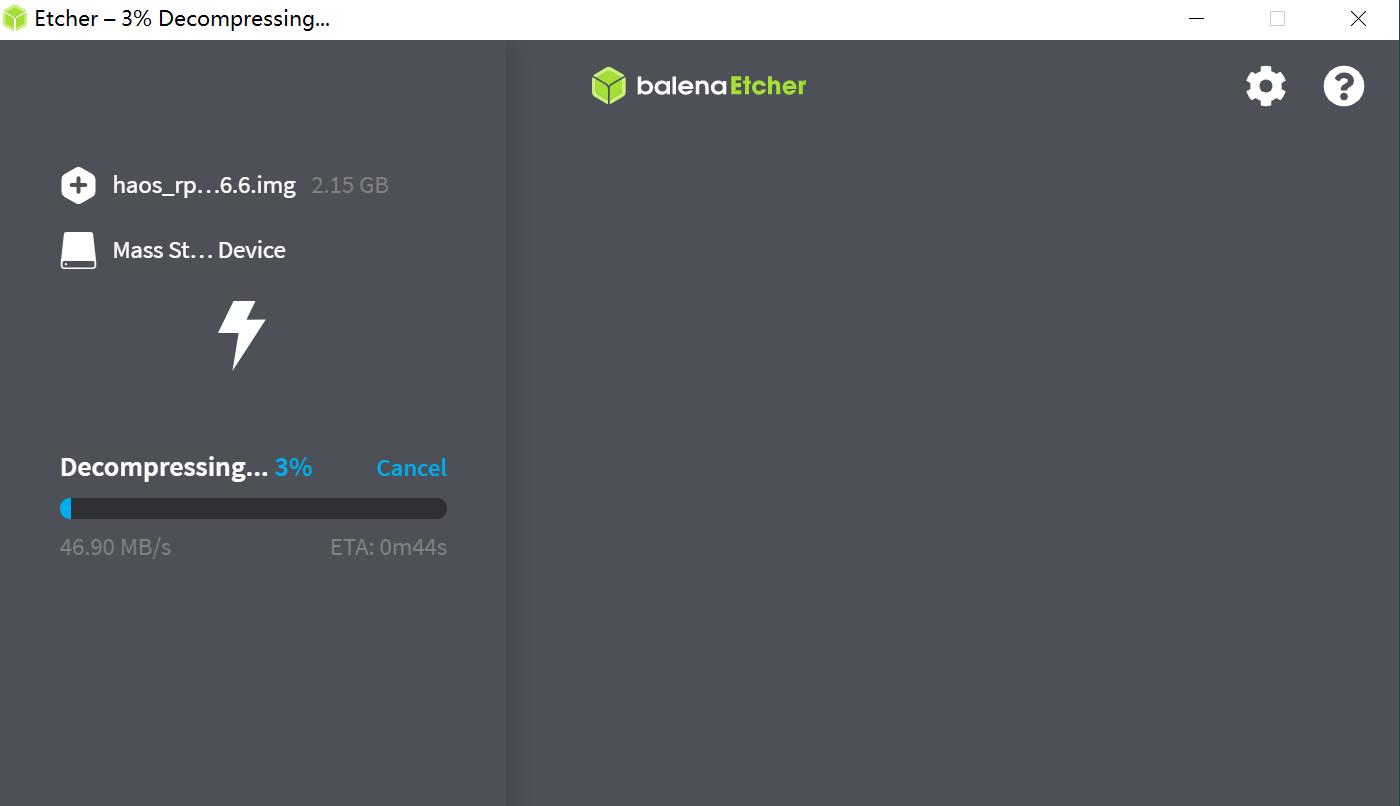
Enable i2c with an sd card reader
- Add files to enable I2C
- In the root of the hassos-boot partition, add a new folder called CONFIG.
- In the CONFIG folder, add another new folder called modules.
- Inside the modules folder add a text file called rpi-i2c.conf with the following content:
i2c-dev
d. In the root of the hassos-boot partition, edit the file called config.txt add two lines to it:
dtparam=i2c_vc=on
dtparam=i2c_arm=on
- Insert the boot media (SD card) you just created
- Attach an ethernet cable to the network.
- Attach a cable for power
- Within a few minutes, you will be able to reach Home Assistant on homeassistant.local:8123.
- If you are running an older Windows version or have a stricter network configuration, you might need to access Home Assistant at homeassistant:8123 or http://X.X.X.X:8123 (replace X.X.X.X with your Raspberry Pi’s IP address).
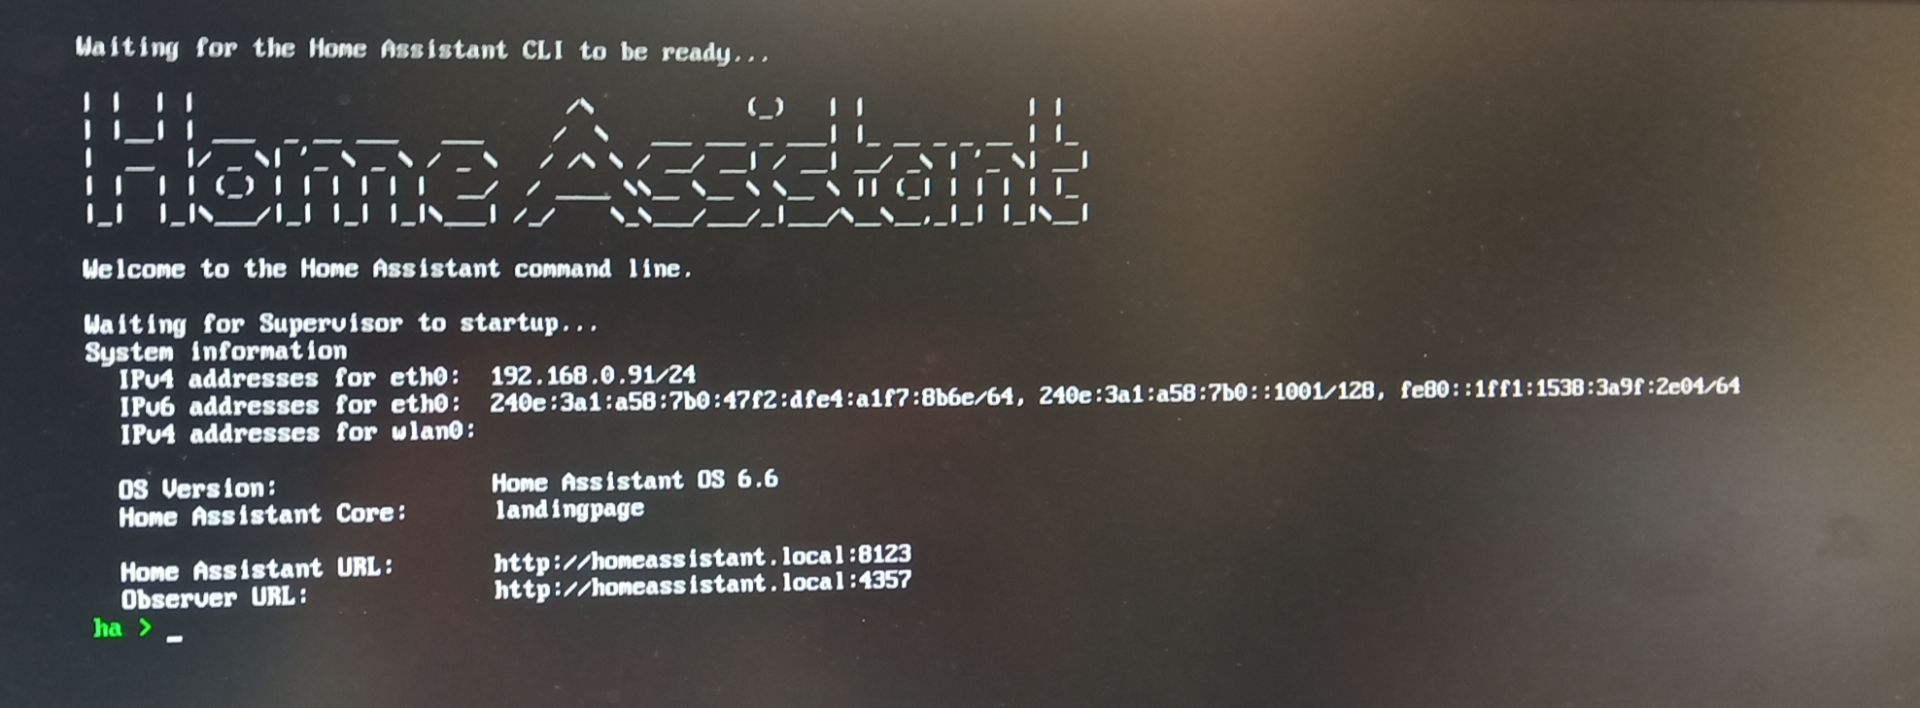
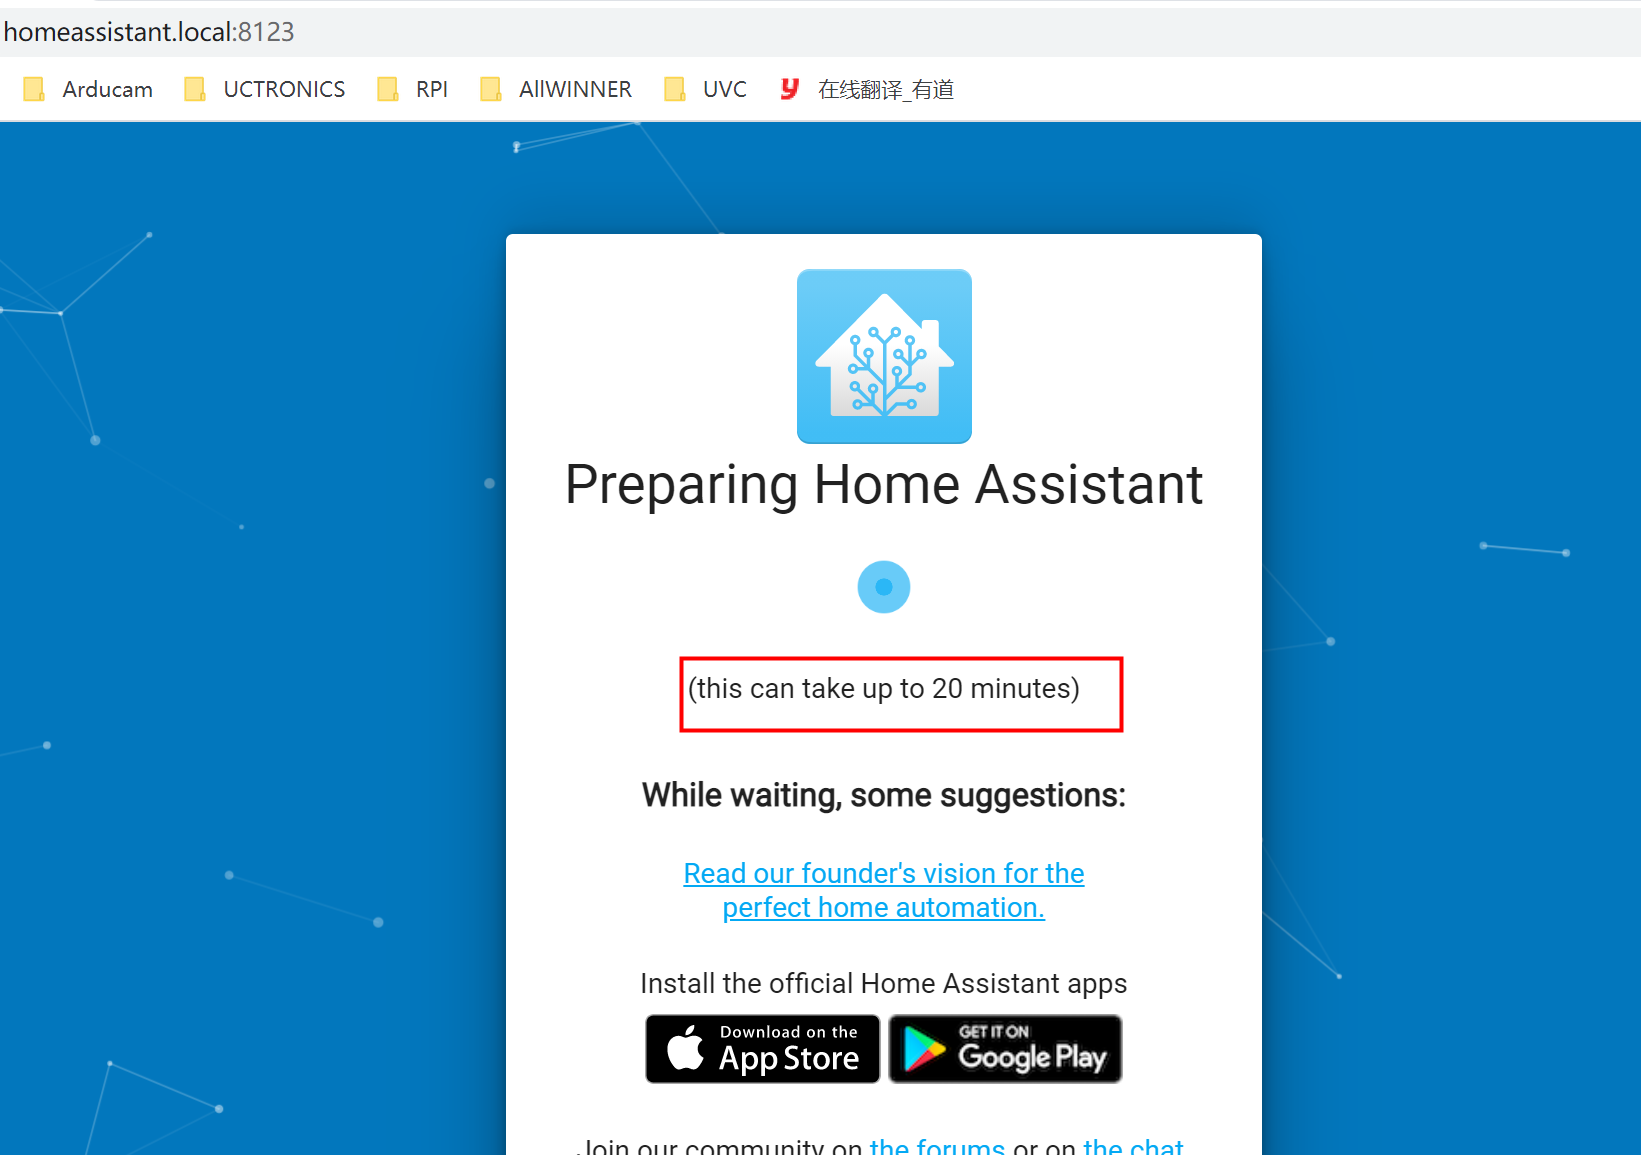
Configure your Home Assistant:
Step 1: Here you will create the owner account
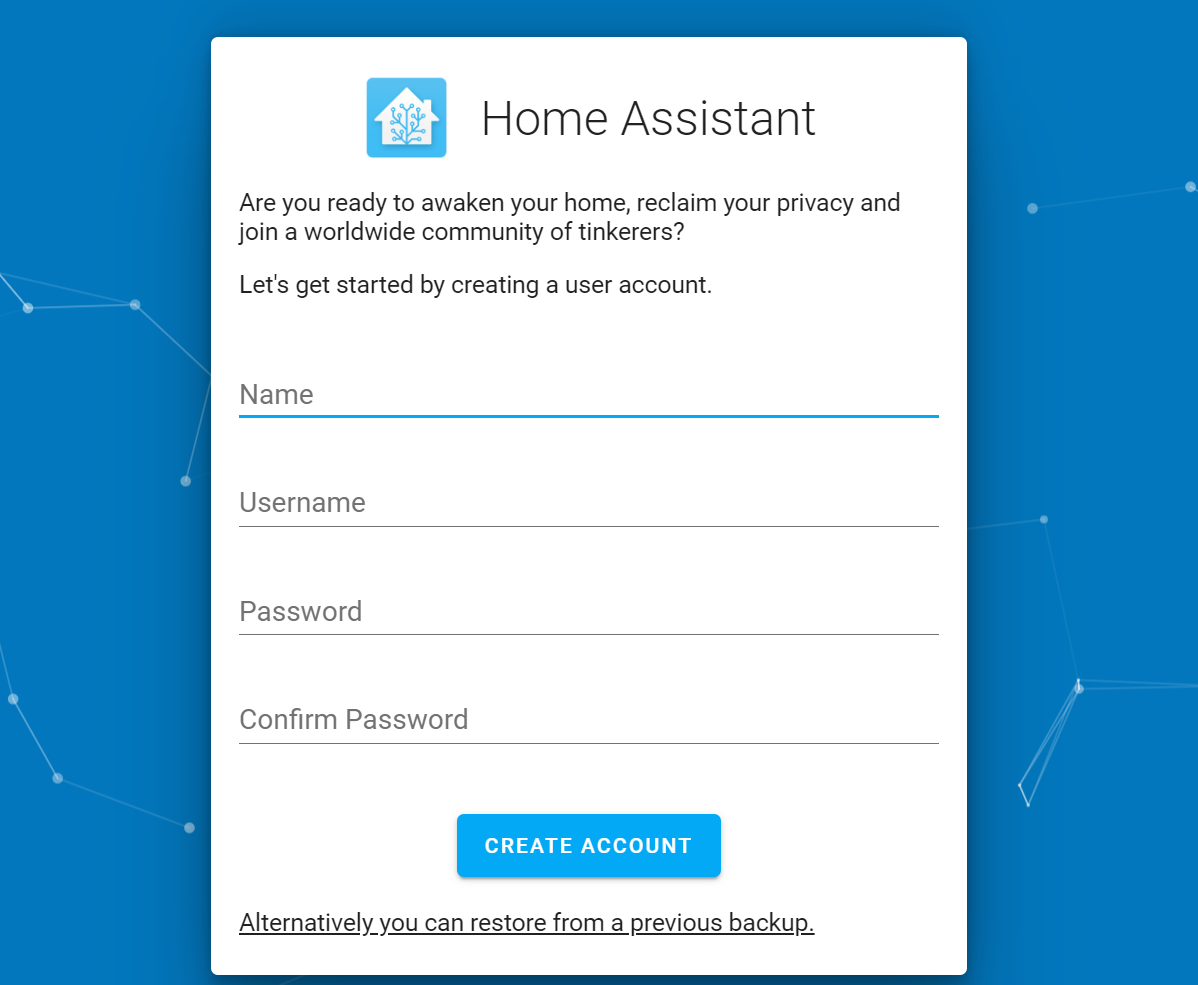
Step 2: Click on “Person” to go to the next screen

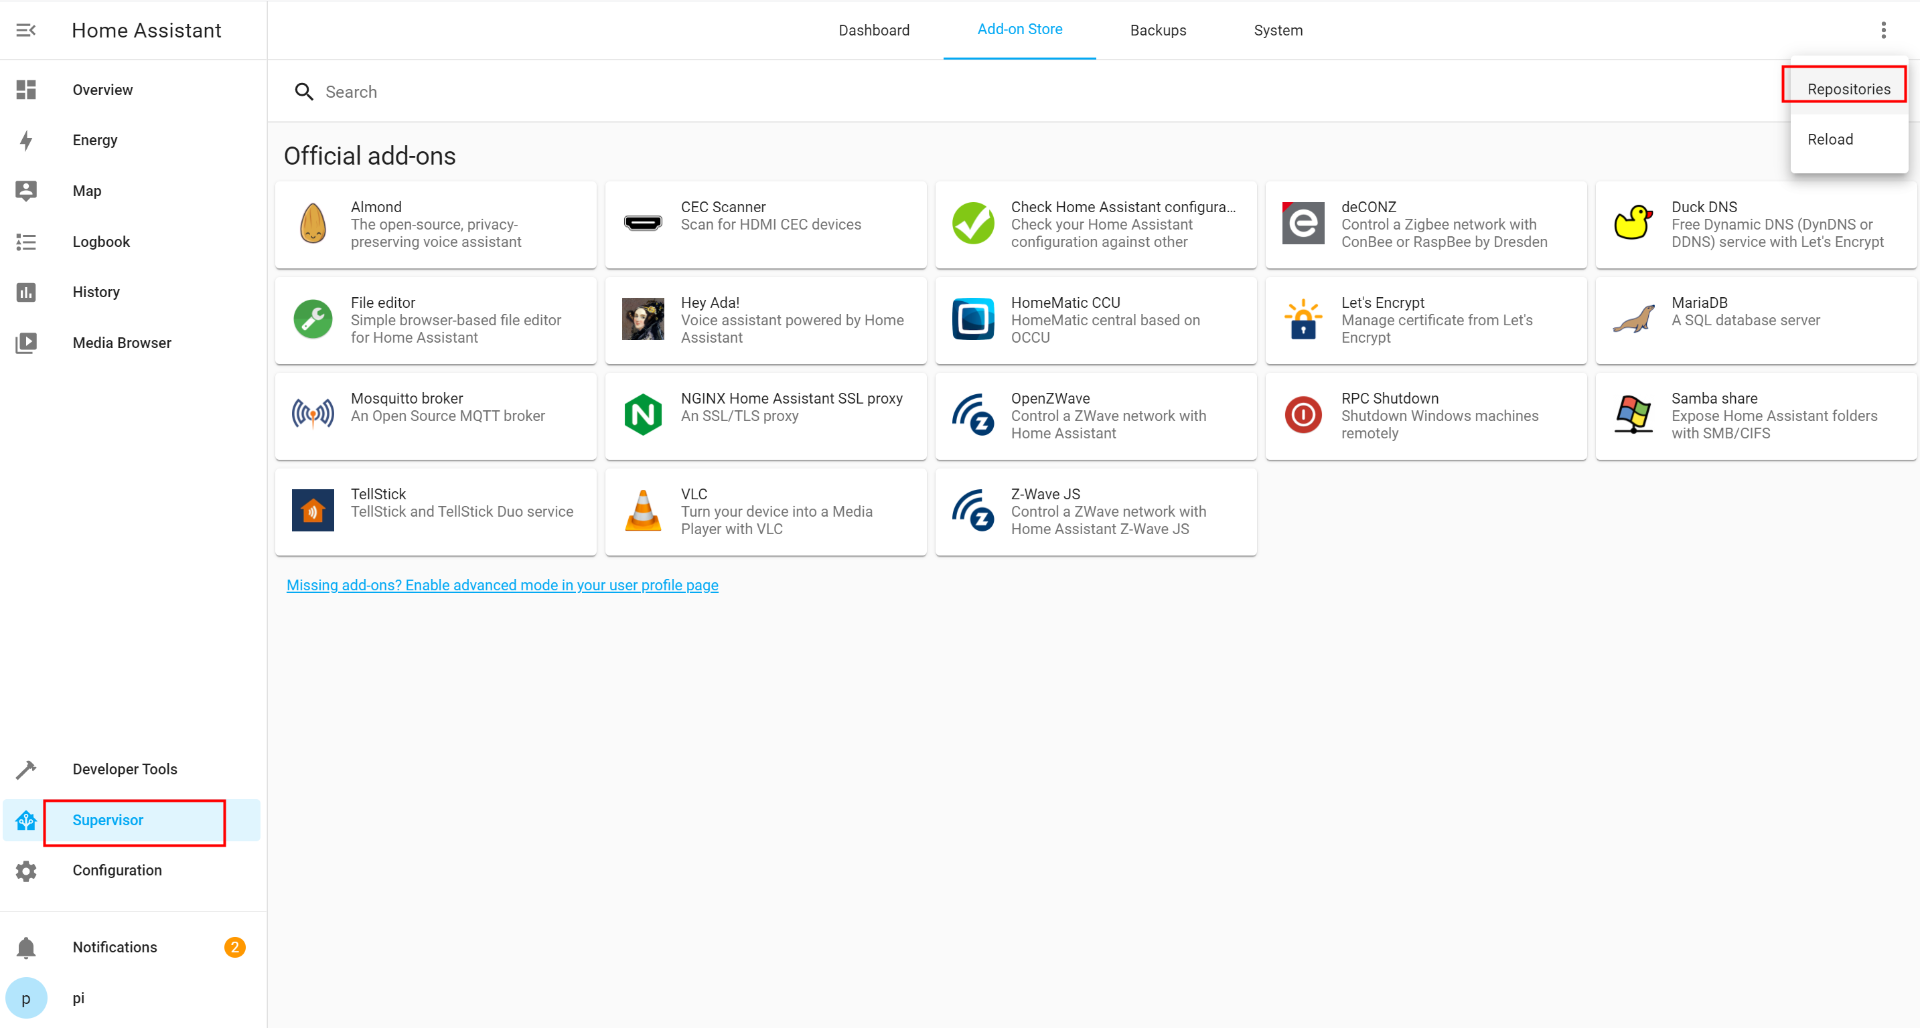
Step 3: Click on “Supervisor” in the sidebar on the left. On the next screen, click on “Repositories”
Step 4: Add Github link: https://github.com/UCTRONICS/U6143_HA
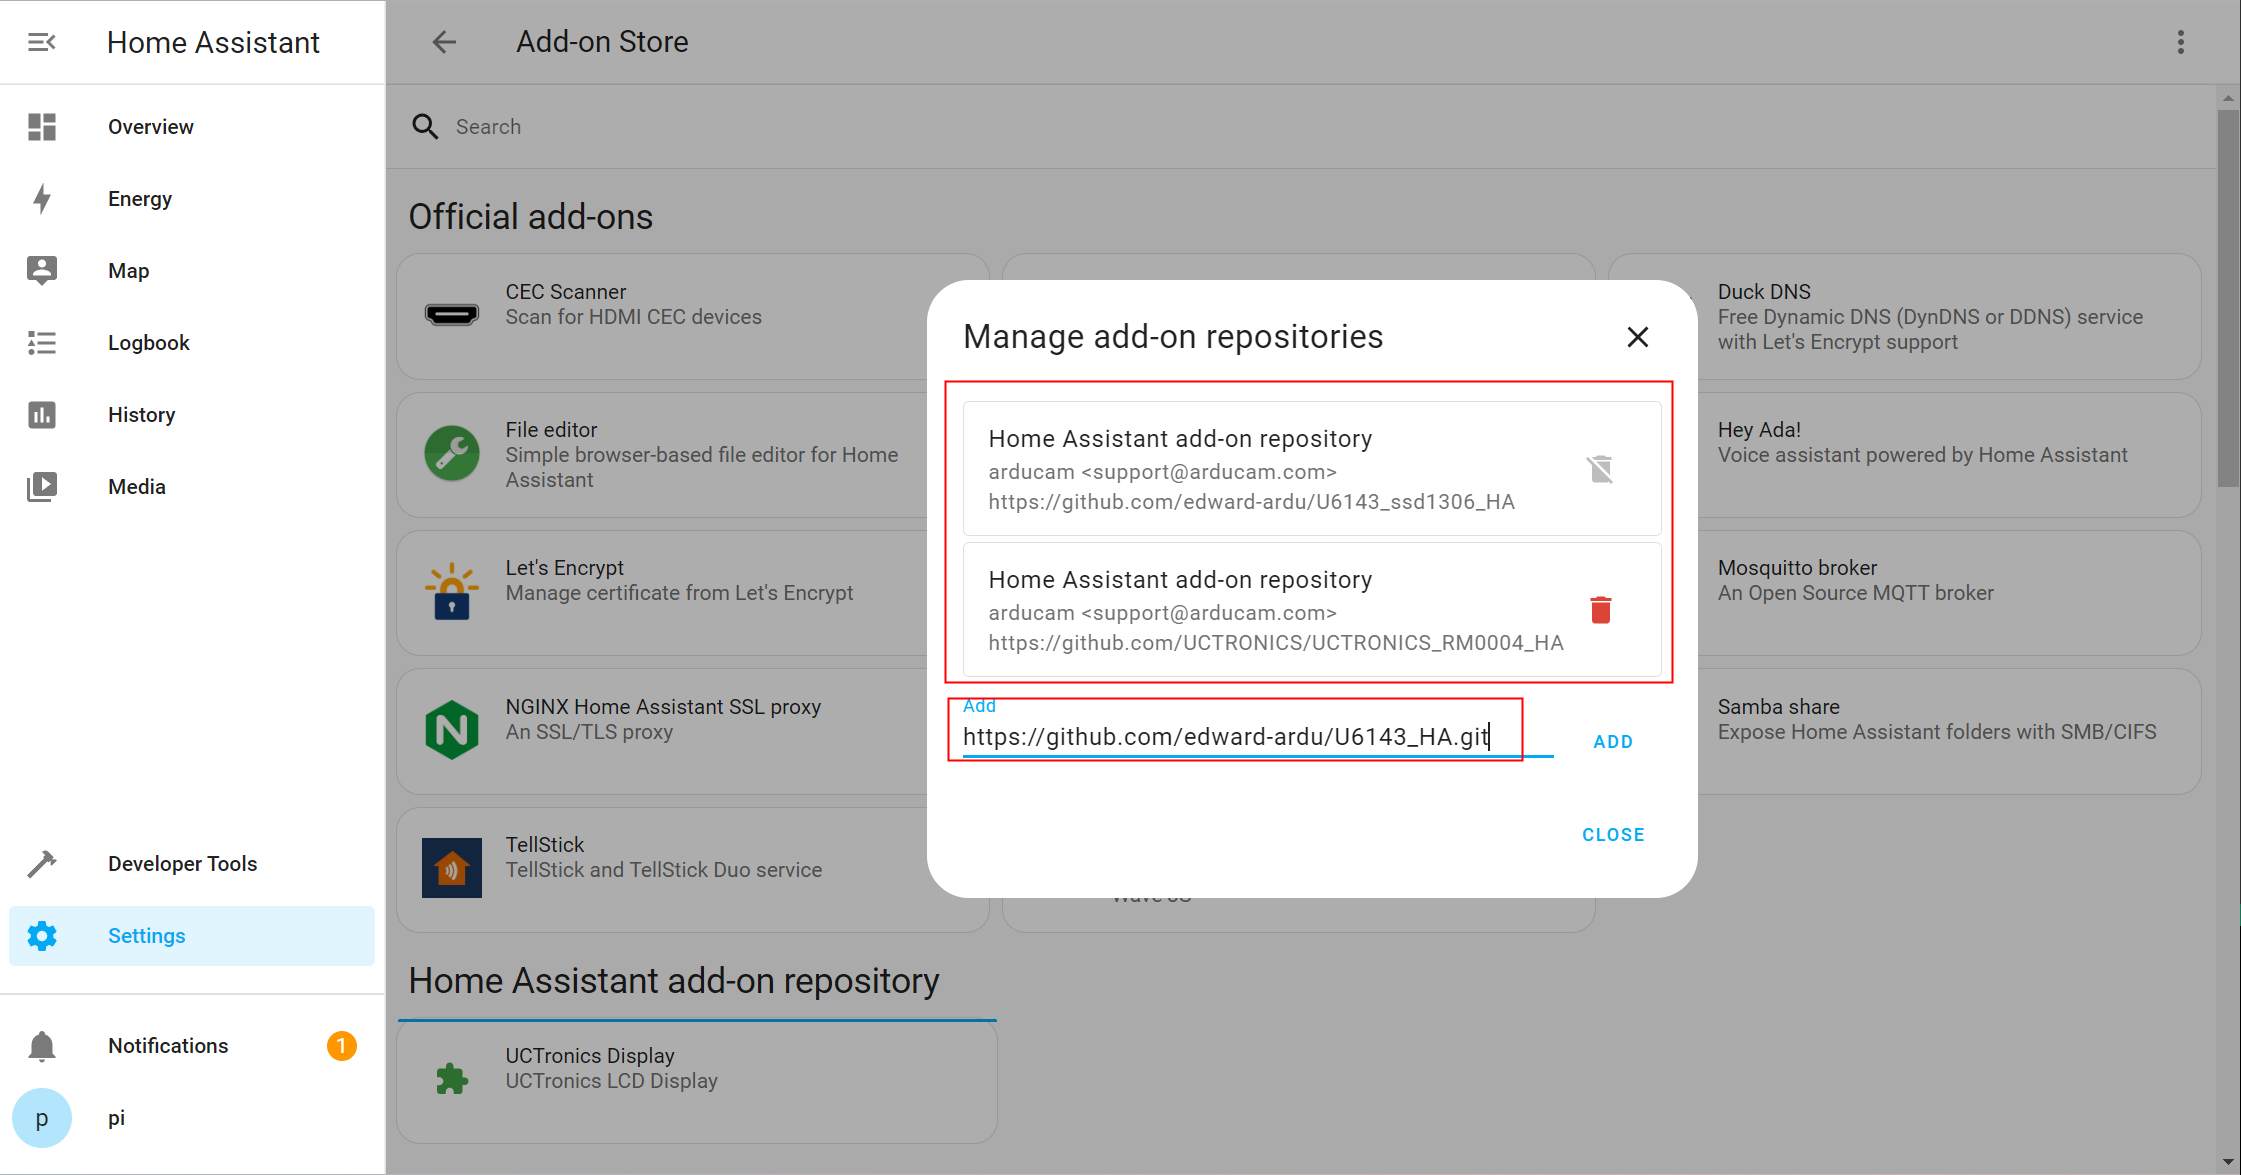
Step 5: Then, you will see the “Home Assistant Add-ons”
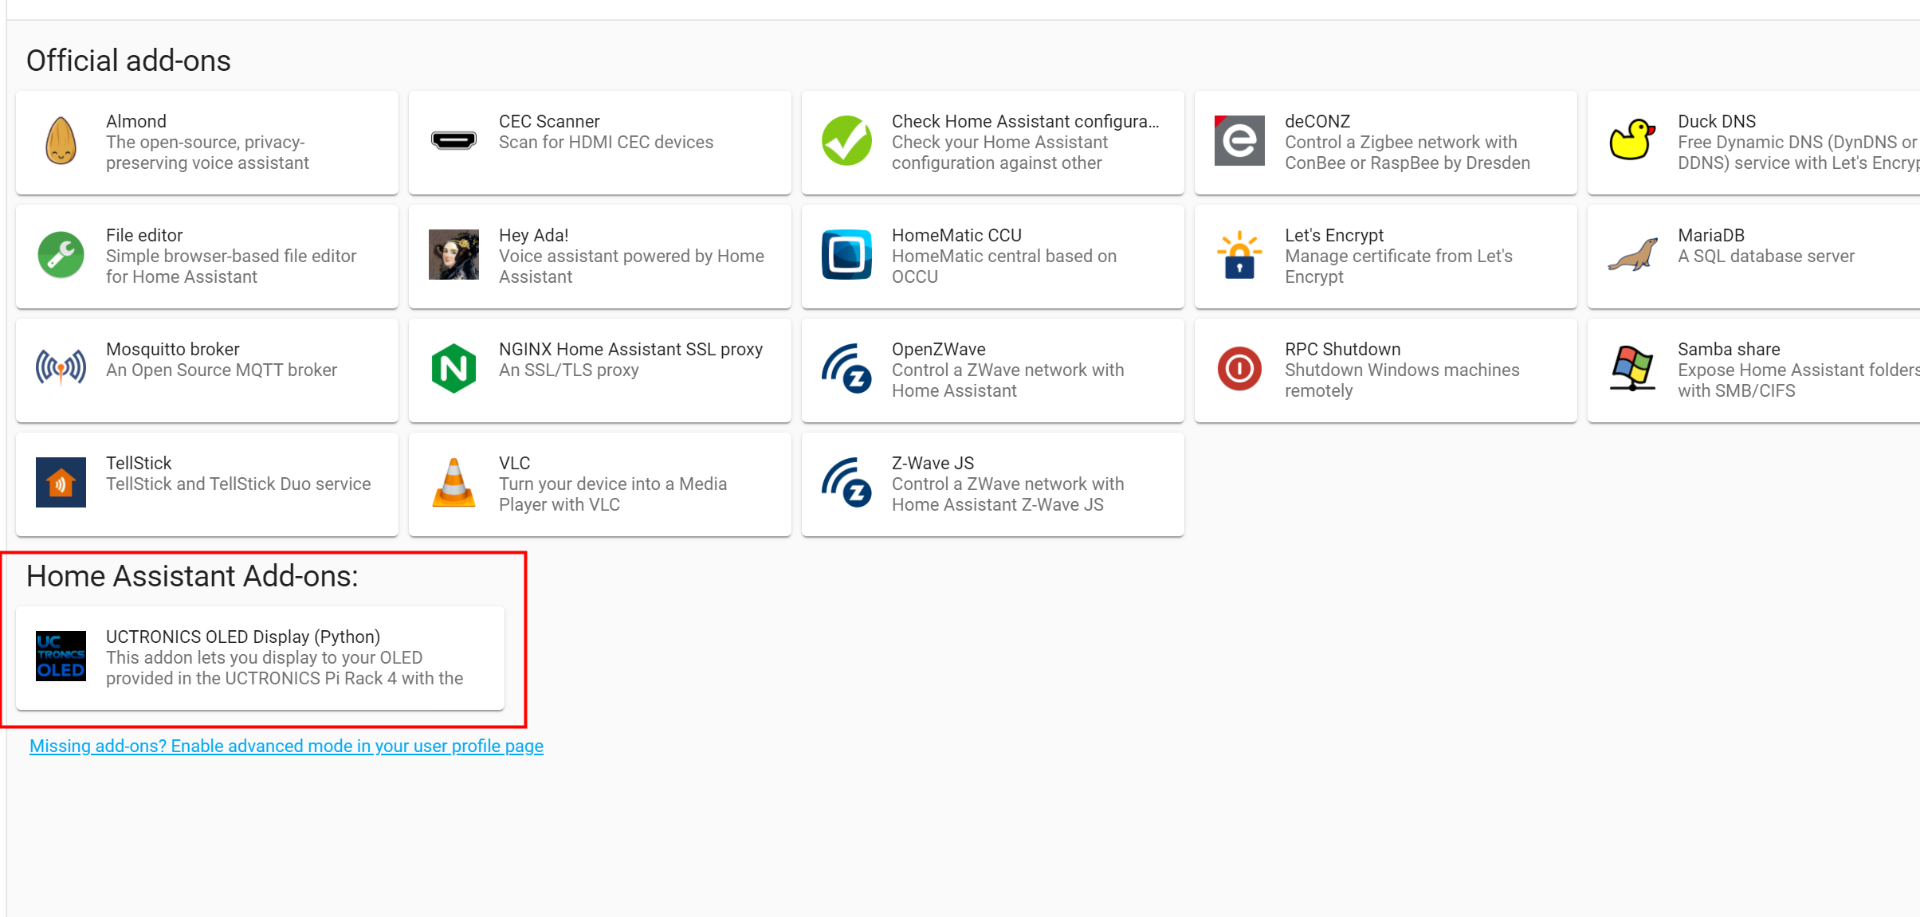
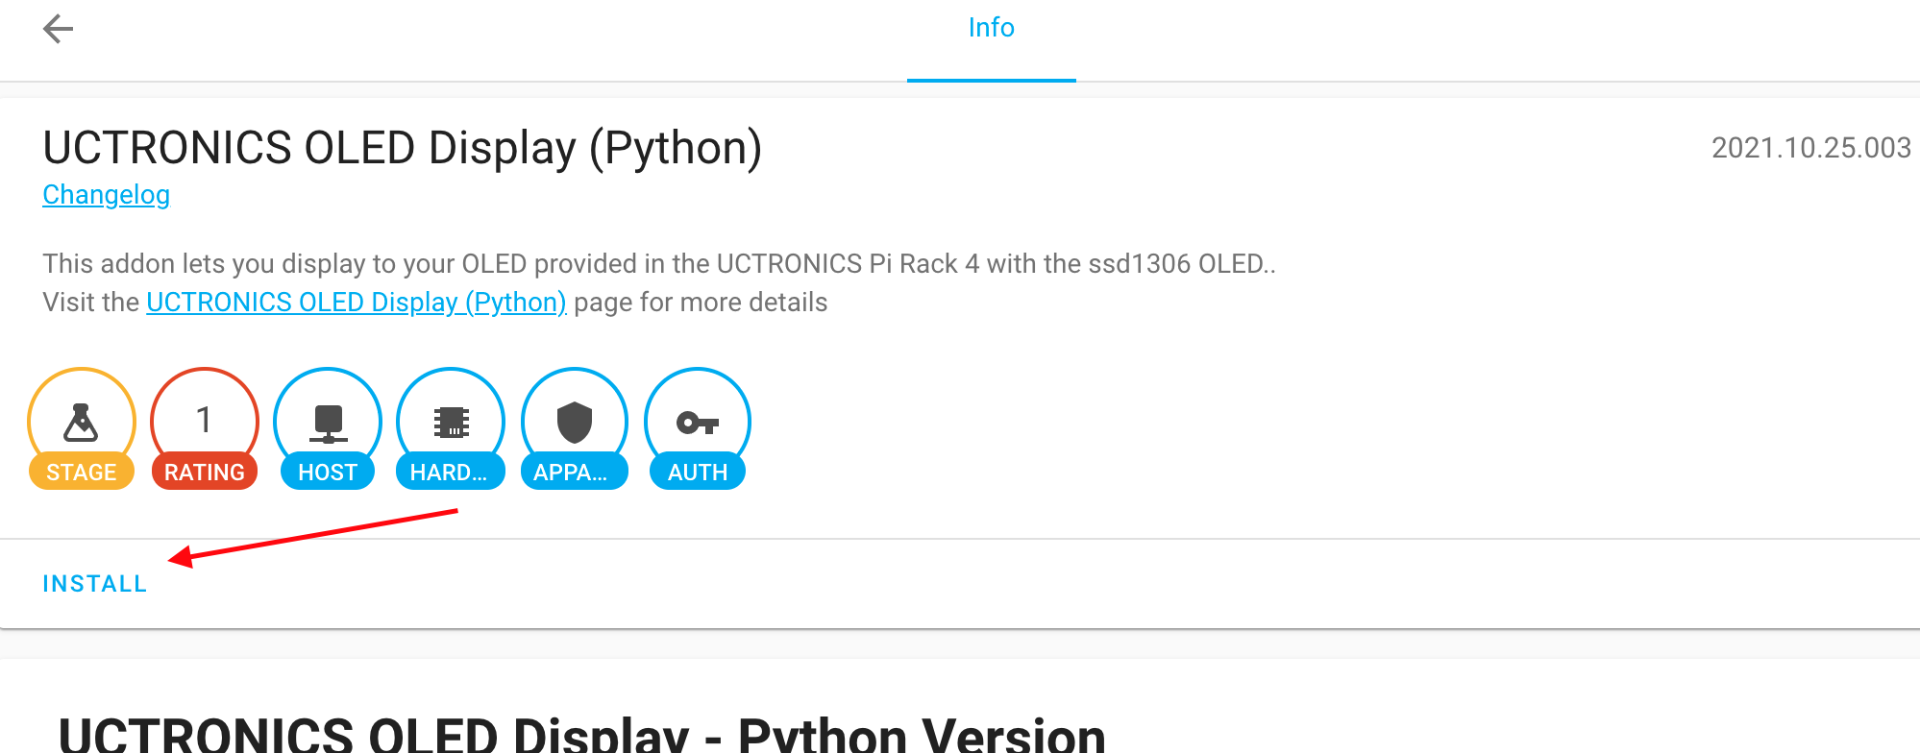
Step 6: Click and Install “UCTRONICS OLED Display (Python)”
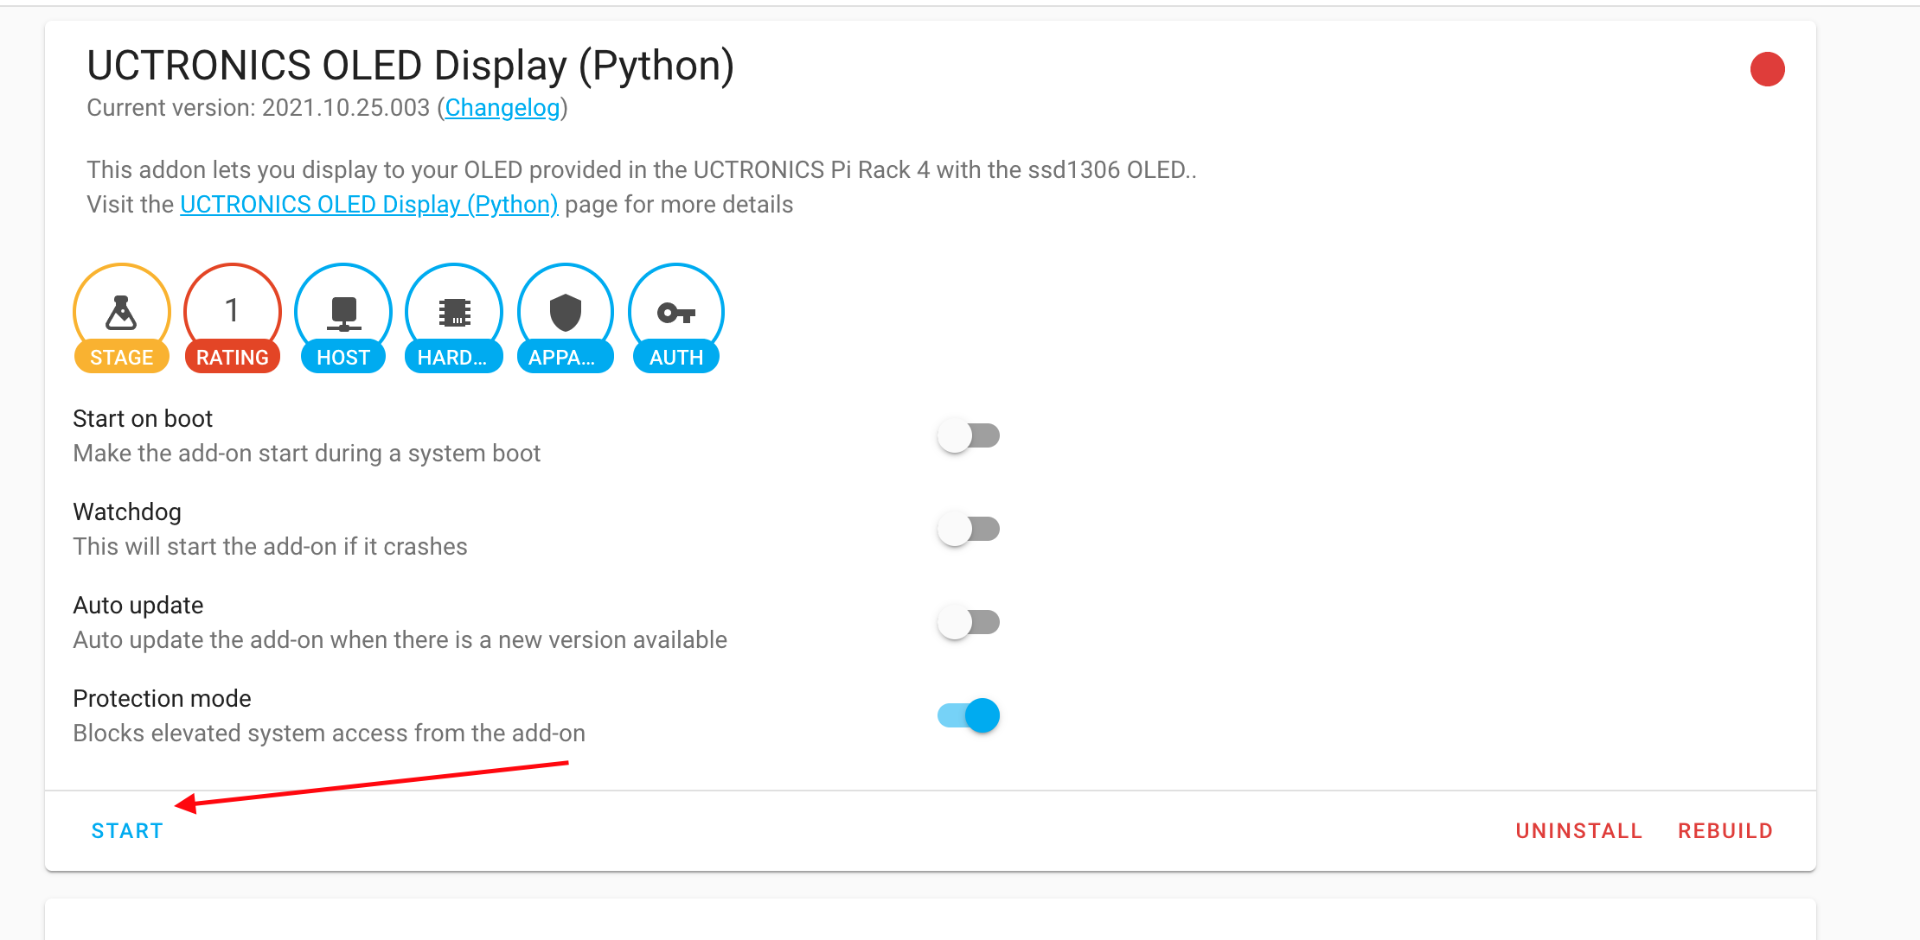
Step 7: Start your OLED Display
When you’re done, your devices are ready for you to control.
