How to Put A Raspberry Pi Cluster into Server Racks
Rpi Cluster at its final form
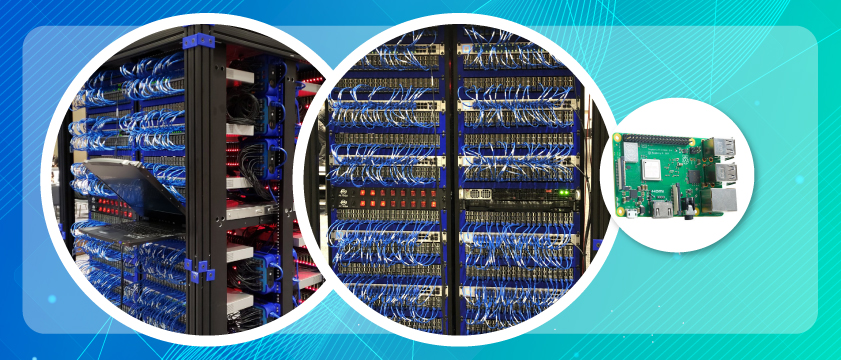
Back in 2019, Oracle made a supercomputer with a superb Raspberry Pi 3B+ cluster featuring 1060 boards:
Source: thousand times the fun
Rpi cluster-building has really come a long way, getting multiple Pis together not only means combined performance, it also creates a budget-friendly cluster computing environment, and people love home labs because they get to have full control.
Oftentimes, there may not even be a cluster, you could be buying a 4B just to replace the old Pi 3, or you could merely have multiple Pis doing different works at once: Pi-hole, Kodi, etc. Either way, you get several Pis lying around. And whether you are an owner of a dedicated cluster or a multi-pi set, the problem is obvious: you need to find ways to house them.
That’s the reason why customized cluster cases came into play, and why so many 3D printed server rackmounts were built by the community.
Stackable cluster case

This is the most common solution people would choose, it’s basically putting one Pi on top of another with spacers and acrylic sheets. A shelf-like cluster is inexpensive, easy to build, and you can add as many Pis as you want.
Does this mean the case is good for building large-scale Pi clusters? Absolutely not.
People use this type of case because: 1) It’s their first time playing with a Pi cluster, 2) they don’t have a server rack around.
Raspberry Pi Cluster Ideas
- Learn and experiment on Kubernetes, Docker Swarm, Serverless, Microservices and Orchestration on bare metal.
- Build a testing environment for your cloud-native apps.
- Build a home server for web applications and databases.
- Build your own NAS or media center.
- Create a home automation system.
- Learn distributed computing and deployment from the ground up.
- Build private servers for numerous games.
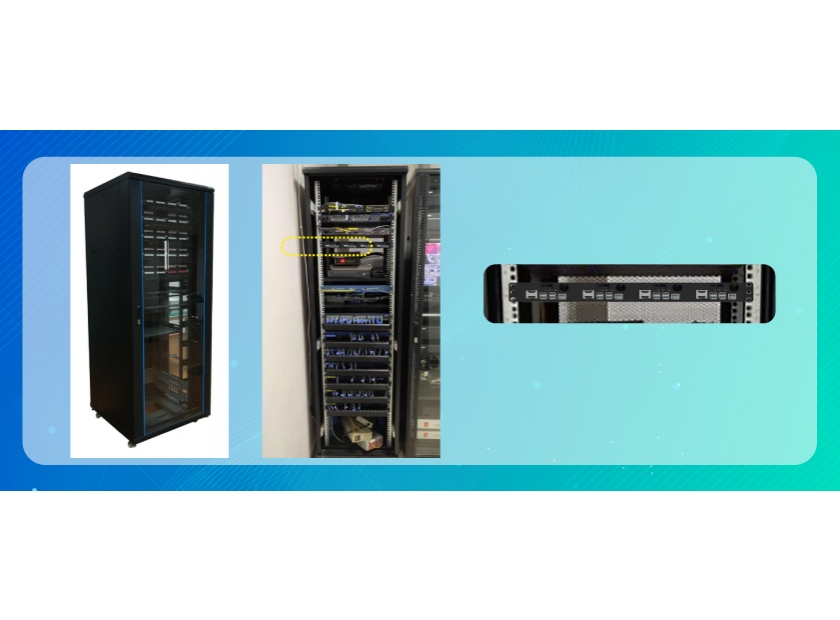
Standardized 19” rack mount

Putting Rpi clusters into 19 inch server racks is not an overkill at all, it saves you tons of time and effort with cable management, and you will be dust free and don’t ever have to be afraid of accidentally damaging the boards any more, whenever one Pi fails, you can easily swap it.
What we have for other Pis:
- New: 2U Rack Mount that supports 12 Pi 4s >
- 1U Rack mount for when you have a small 4-Pi set >
- 1U Rack Mount Gen. 3 >
- 1U Rack Mount GEN.3 with PoE support >
- 3U mount for when you have a dozen Pis >
How to put multiple Raspberry Pis into Server Racks
Step 1. Choose a rack mount

Use rack mounts instead of other cluster cases, a ready-made standard 1U/3U mount should be good, usually they can fit into any server racks and cabinets, and if you happen to have a 3D printer, consider making your own ones.
Step 2. Raspberry Pi and bracket assembly
This should be the easiest part, simply follow the instructions to install all the Pis and mount it into the server rack, If one bracket can’t handle the cluster, simply add another, there’s no need for a rack rail.
Step 3. Wire them up

Once you’ve installed the rack mount, hook the cluster up with essential supplies like SD cards, power adapters and ethernet cables. If you are using 3D printed ones, there could be some modification work.
When you are done connecting all the cables, give them a test run, see if all the Pis can properly boot up, this is where most people will ran into problems, if everything works good, you are all set. If they don’t, double-check for connection issues, do separate tests with each Pi, use different power supplies. This can take a while, but when you eventually get it up and running, it will be all worth it.